Growing Herbs From Seed Indoors
Ever dream of snipping fresh basil for your pasta in the middle of winter? Or adding a sprig of homegrown mint to your evening tea, all without stepping foot outside? It’s easier than you think! Growing herbs from seed indoors is a rewarding and surprisingly simple way to bring the garden to your kitchen, no matter the season.
Why bother starting herbs from seed indoors? Beyond the obvious benefit of fresh, flavorful ingredients at your fingertips, cultivating your own herbs provides a therapeutic connection to nature. You’ll have a constant supply of aromatic leaves for cooking, crafting, and even natural remedies. Plus, it’s incredibly cost-effective! A packet of herb seeds costs a fraction of what you’d pay for fresh herbs at the grocery store, and you’ll be amazed at how much you can harvest from a single plant. Let's dive into how you can start growing herbs from seed indoors!
Getting Started: What You’ll Need
The good news is that you don’t need a ton of fancy equipment to get started growing herbs from seed indoors. Here's a basic checklist to ensure your success: Seeds: Choose high-quality seeds from a reputable source. Look for varieties specifically suited for container gardening. Containers: Seed starting trays or small pots (2-3 inches in diameter) with drainage holes are ideal. You can also repurpose yogurt cups or egg cartons, just make sure to poke drainage holes in the bottom. Seed Starting Mix: This is different from regular potting soil! Seed starting mix is finer and lighter, allowing delicate seedlings to easily emerge. Watering Can or Spray Bottle: Gentle watering is crucial to avoid disturbing the seeds. Light Source: A sunny windowsill might work for some herbs, but a grow light will provide consistent and reliable light, especially during the darker months. Heat Mat (Optional): Some herbs germinate best with warmth, so a heat mat can speed up the process. Plant Labels:Don't forget to label your seeds! It's easy to mix them up once they sprout.
Sowing Your Seeds: A Step-by-Step Guide
Now for the fun part – planting! Follow these steps for successful germination and healthy seedlings:
1.Prepare Your Containers: Fill your seed starting trays or pots with seed starting mix, leaving about half an inch of space at the top. Gently tap the containers to settle the mix.
2.Sow the Seeds: Refer to the seed packet for specific instructions on planting depth. Generally, small seeds should be scattered lightly on the surface and gently pressed into the mix. Larger seeds can be planted slightly deeper. A general rule of thumb is to plant seeds at a depth equal to twice their diameter.
3.Water Carefully: Use a spray bottle to mist the soil thoroughly but gently. You want the soil to be moist, not soggy.
4.Provide Light and Warmth: Place your containers in a warm location (ideally 70-75°F or 21-24°C). If using a heat mat, place the containers on top. If using a grow light, position it a few inches above the containers.
5.Maintain Moisture: Keep the soil consistently moist by misting regularly. Cover the containers with a plastic dome or plastic wrap to create a humid environment, removing it once seedlings emerge.
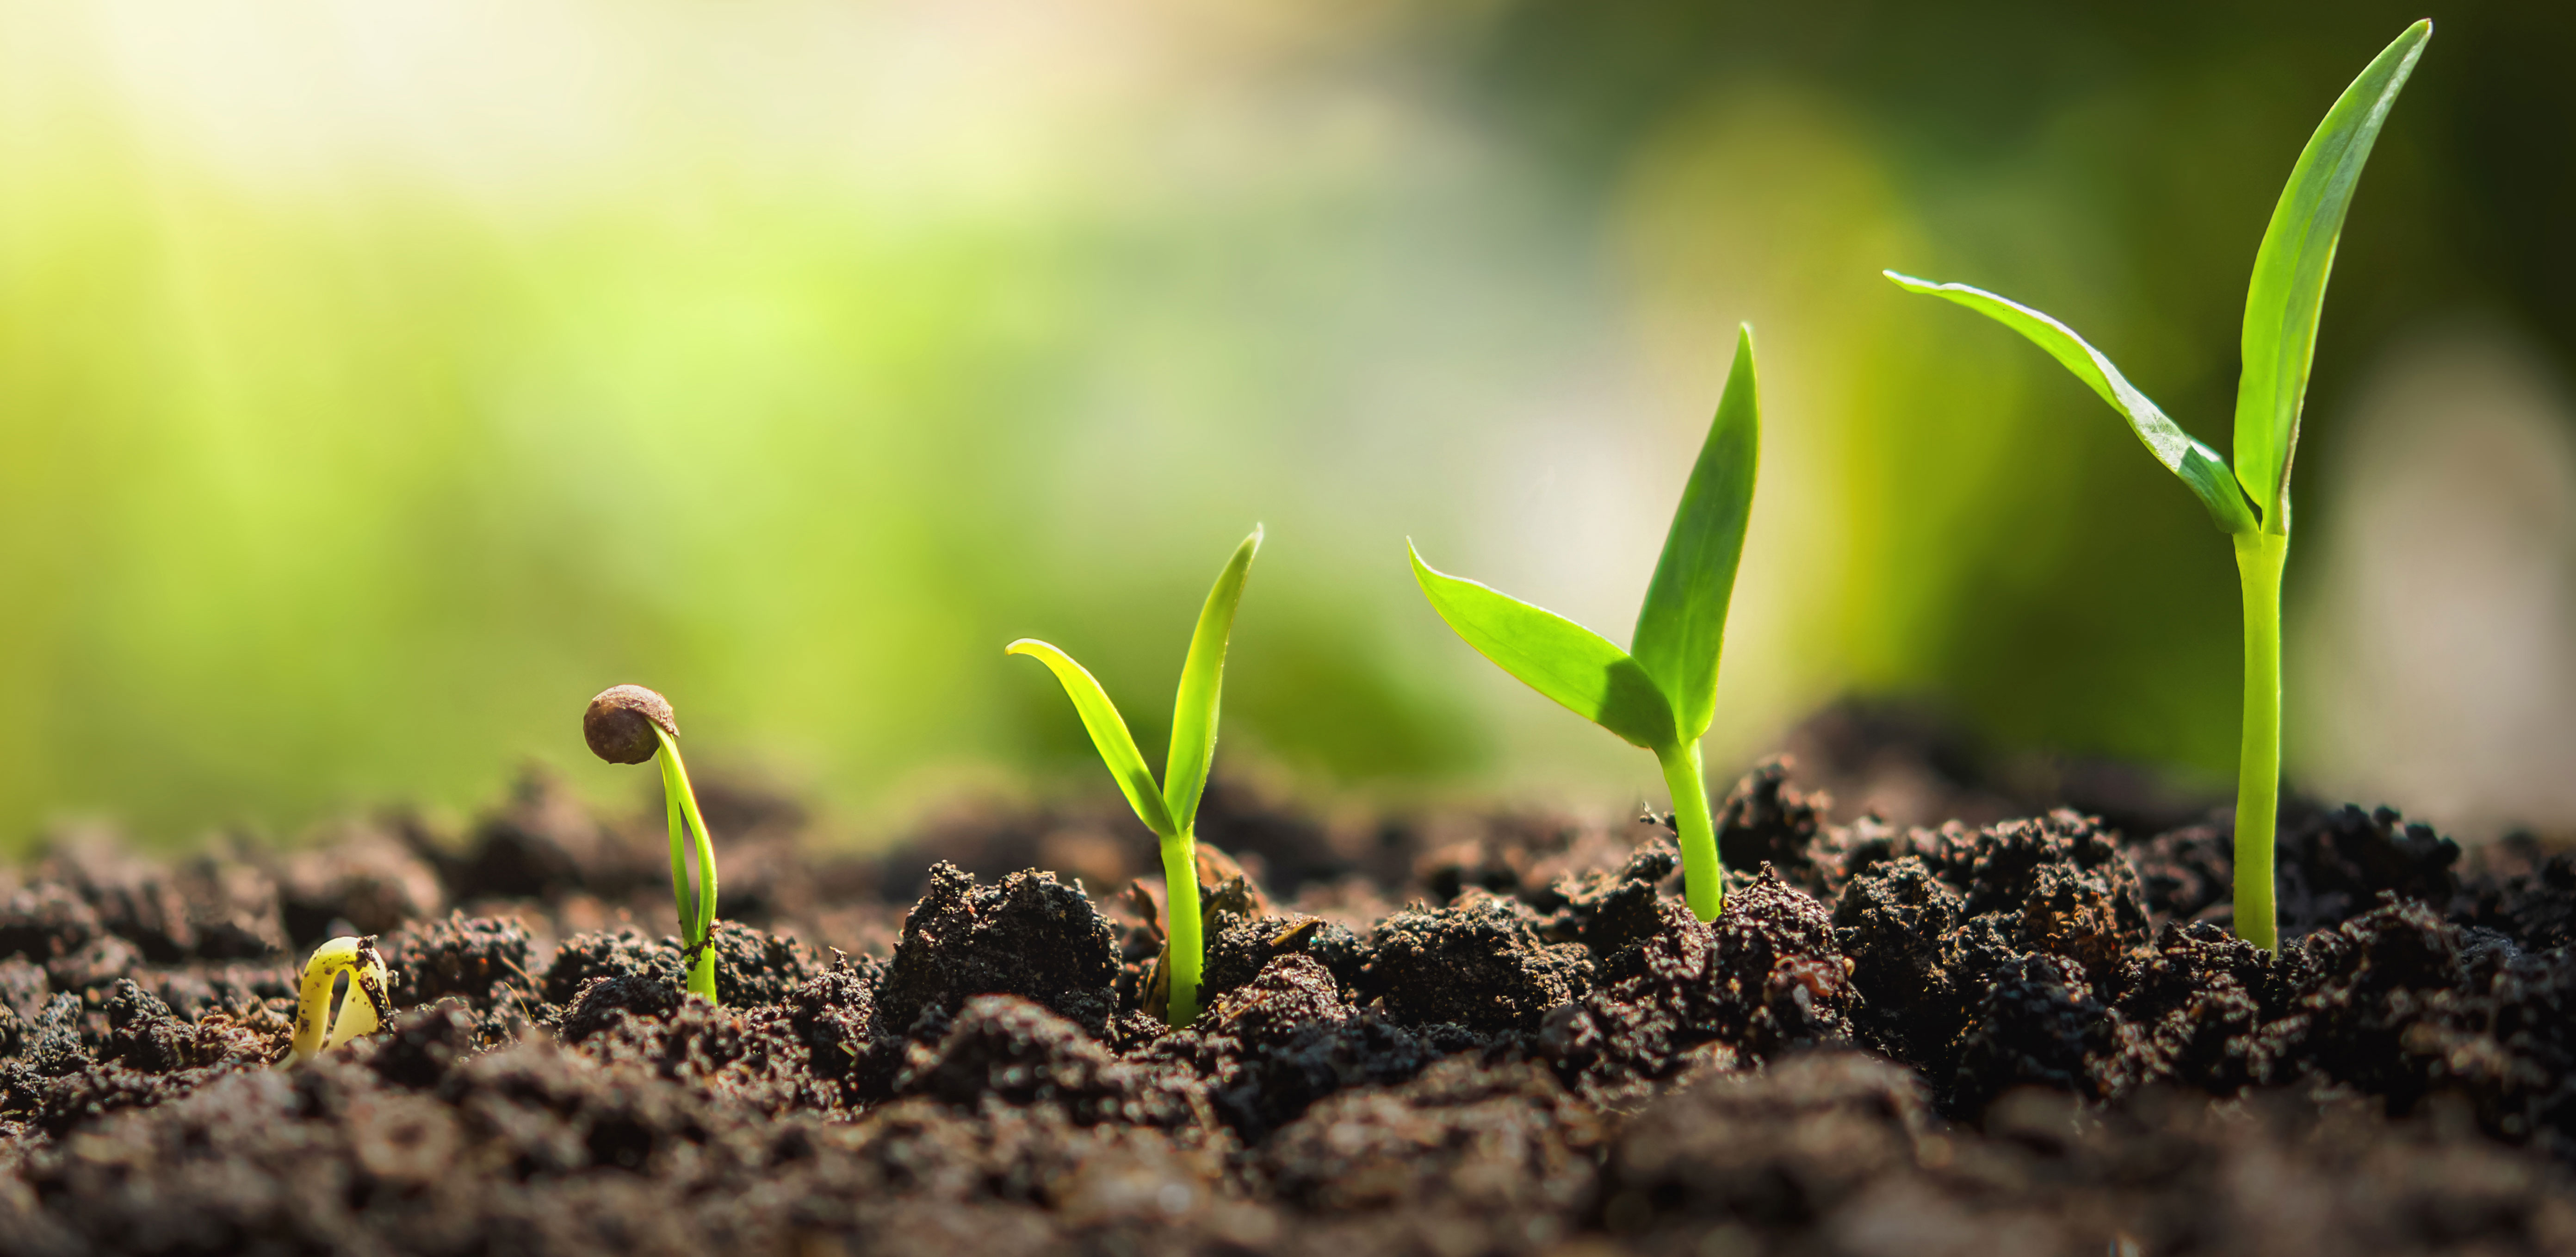
6.Observe and Thin: Once the seedlings have sprouted (usually within 7-14 days, depending on the herb), thin them out, keeping only the strongest seedling in each cell or pot. This prevents overcrowding and ensures each plant has enough space to thrive.
Nurturing Your Seedlings: From Sprout to Success
Once your seedlings have emerged, it’s important to provide them with the right care to help them grow into strong, healthy plants.
Light: Ensure your seedlings receive adequate light. If using a grow light, adjust the height as the plants grow to maintain a distance of a few inches. If using a windowsill, rotate the containers regularly to prevent the plants from leaning towards the light. Watering: Water when the top inch of soil feels dry to the touch. Avoid overwatering, which can lead to root rot. Fertilizing: Once the seedlings have developed their first true leaves (the second set of leaves after the initial seed leaves), you can start feeding them with a diluted liquid fertilizer specifically formulated for seedlings. Follow the instructions on the fertilizer label. Hardening Off: Before transplanting your seedlings outdoors (if you plan to), you need to "harden them off." This means gradually acclimating them to outdoor conditions. Start by placing them in a sheltered spot outdoors for an hour or two each day, gradually increasing the time over a week or two. This helps them adjust to the sun, wind, and temperature fluctuations.
Choosing the Right Herbs: Best Herbs to Grow Indoors From Seed
Not all herbs are created equal when it comes to indoor growing. Some are naturally better suited to container gardening and can thrive indoors with minimal effort. Here are a few of the best herbs to grow from seed indoors: Basil: A culinary staple, basil is relatively easy to grow indoors and provides a continuous supply of fragrant leaves. ‘Genovese’ and ‘Thai’ basil are popular choices. Chives: These onion-flavored herbs are incredibly versatile and thrive in containers. Snip off the leaves as needed for salads, soups, and dips. Mint: Known for its refreshing flavor, mint is vigorous and easy to grow. However, it tends to spread, so it’s best to keep it in its own container. Parsley: Both curly and flat-leaf parsley varieties grow well indoors. Parsley requires consistently moist soil. Oregano: This Mediterranean herb adds a pungent flavor to dishes and is relatively low-maintenance. Thyme: Another Mediterranean favorite, thyme is drought-tolerant and thrives in sunny locations. Cilantro:Though it can be a bit finicky, cilantro can be successfully grown indoors with proper care. Provide plenty of light and avoid overwatering.
Can herbs really grow indoors in winter?
Absolutely! In fact, growing herbs indoors is especially beneficial during the winter months when outdoor gardening is limited. With adequate light and warmth, you can enjoy fresh herbs year-round. A grow light becomes particularly essential during winter, compensating for reduced natural sunlight. Choosing herbs that tolerate lower light conditions can also improve your winter success rate.
Which herbs grow faster in pots?
Herbs like basil, mint, chives, and parsley are generally fast-growing in pots. They tend to germinate quickly and reach harvestable size within a few weeks. Starting with these faster-growing herbs can give you a quick sense of accomplishment and boost your confidence as you learn the ropes of indoor herb gardening.
Do indoor herbs need direct sunlight?
While some herbs can tolerate partial shade, most indoor herbs thrive with at least 6 hours of direct sunlight per day. A south-facing window is ideal. However, if you don’t have a sunny window, a grow light is essential to provide the necessary light for healthy growth. Observe your plants carefully and adjust their position or light source as needed to ensure they receive adequate light. Signs of insufficient light include leggy growth, pale leaves, and a lack of aroma.
Growing herbs from seed indoors is a fulfilling and practical way to enhance your cooking and bring a touch of nature into your home. Don't be afraid to experiment with different varieties and techniques. Each seed holds the potential for a bountiful harvest and a deeper connection to the natural world. So, grab a packet of seeds, get your hands dirty, and watch your indoor herb garden flourish!
Post a Comment for "Growing Herbs From Seed Indoors"